If you are also among those who count Excel applications as boring ones then you are wrong. It’s not at all a boring application..!
That’s right as you can turn your boring Excel spreadsheet into an attractive worksheet. For this, you can do so many things into your Excel workbook like insert gif images, add animation to your workbooks, put animated chart in Excel, insert animated graphs in spreadsheet, use dynamic data labels to create interactive Excel charts, etc.
In our today’s topic, we will learn how to insert animated gif in Excel.
So, let’s get started…!
Can We Add Gifs To Excel?

It’s a very common question by many Excel users whether they can add GIF images to Excel or not. Everyone knows that it’s quite easy to insert image into Excel. As the option to insert pictures in Excel is very easy to get i.e insert—>picture.
However when it comes to insert animated gif images into Excel then this method won’t work. No doubt gif image will also get inserted in your worksheet with this step but without any animation effect.
The gif image animation will only work when the picture is inserted within a control. It can be done using Control Toolbox, Design mode & Microsoft Web Browser.
VBA code is a very essential part of adding animated gif in Excel. After completing up the procedure, the Excel sheet’s active page needs to get changed. Also, check out whether the animation is working properly or not. For inserting animated gifs in other sheets of Excel, you can use the same VBA procedure.
Further Reading: 5 Hacks To Extract Images From Excel
How To Insert Animated GIF In Excel?

In this section we will discuss about two different ways to Insert Animated GIF In Excel. In the first way you will learn to insert gif image in Excel spreadsheet. Whereas in the second method you will get to know how to Insert GIF Images Into Specific Cell Or Given Range Of Excel Spreadsheet. So, let’s discuss about each method one by one.
Method 1: Insert GIF Files In Excel spreadsheet

For embedding an animated GIF file into the excel spreadsheet. It’s important to know the complete path and name of the GIF image. You will also need to put a snippet of VB code within your excel worksheet. Let’s know how all things are to be done.
Step 1
Browse the folder having the animated GIF image folder you want to insert. After then write the complete path of the GIF folder and name of its file.
Suppose, if the file is present in the subfolder of C: drive named Pictures. It contains an image file bear.gif which you want to insert in your Excel workbook. Then the complete path name will be c:\pictures\bear.gif.
Step 2
After then Open your MS Excel spreadsheet in which you want to add your animated GIF.
Step 3
Tap to the “View” menu from the Excel menu ribbon. Then choose the “Toolbars” option => and next tap on the “Control Toolbox.” Option.
Step 4
Hit the top button present in the “Control Toolbox,” this will activate the “Design Mode.” In the “Design Mode” you can draw an item structure in your Excel workbook which will accept your object like animated GIF.
Step 5
Tap to the bottom button present in “Control Toolbox”. Now from the drop-down menu, choose the “Microsoft Web Browser.” This will activate “Microsoft Web Browser” so that you can view your animated GIFs.
Step 6
Make a Left-click from your mouse button on your spreadsheet where you want to embed your animated GIF image. Draw a large size box that can easily contain your animated GIF image.
Step 7
Tap to the “Design Mode” option again for disabling the design mode. After then close the opened toolbar “Control Toolbox”.
Step 8
From your keyboard by holding on the “Alt” key press the “F11” key. This will open the Microsoft Visual Basic window in your Excel application.
Step 9
Make a double-click onto the worksheet in which you want to add the animated GIF image. Now from the Project list present on the upper left side of the VB window. It will open the code window of visual basic.
Step 10
in the open code window, just copy and paste this code:
Private Sub Worksheet_Activate()
End Sub
Assign appropriate filename and path name present in the quotes for the GIF file.
Step 11
Tap on the different Excel worksheet and again hit back on the worksheet in which you have added your GIF image. Your added animated GIF must be displayed in the drawn object box.
If it is appearing like this, then all set…! You can enjoy watching your gif image animation.
You can watch this video for a clear understanding of inserting animated gif image in Excel.
For Adding Animated Gif Image From Any Web Address
Well, you can add animated gif image into Excel from any web address also. To accomplish this task, just try the following code:
Private Sub Worksheet_Activate()
WebBrowser1.Navigate “about:<html><body scroll=’no’><img src=’http://www.animatedgif.net/animals/birds/birdtoon_e0.gif’> </img></body></html>”
End Sub
Method 2: Insert GIF Images Into Specific Cell Or Given Range Of Excel Spreadsheet

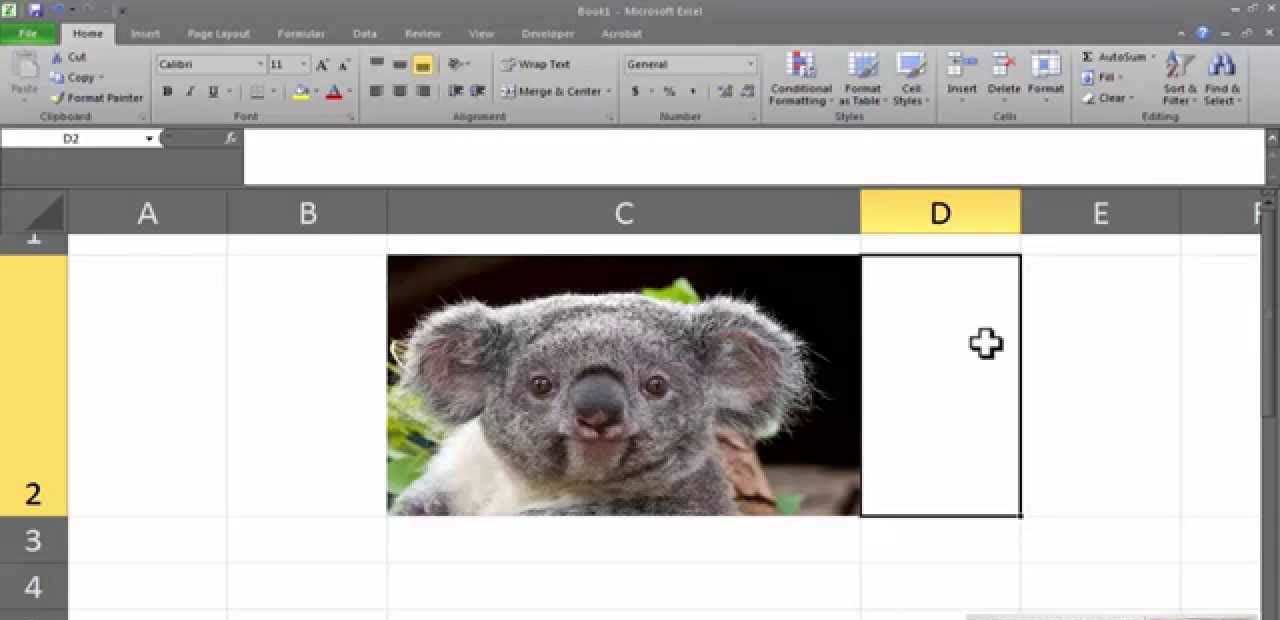
If you want to insert a gif image into a specific Excel cell then it’s very important for you to know that. You can not insert image into Excel cell but you have the option to resize it. So, that it will perfectly fit in that particular cell.
Well performing this manually will consume a lot more time. So, we will do it through VBA macro. Let’s know how to insert GIF images in Excel using VBA.
Below here we will discuss about Excel VBA code for inserting images from any folder into any specific cell or any given range. From your keyboard, press Alt+F11, after then insert a module & then copy down this code.
No need to worry about the coding as we will explain everything. So, that anyone can make modifications to it as per their need.
Insert GIF Images In Excel With VBA Code

Sub TestInsertPictureInRange()InsertPictureInRange “C:\FolderName\PictureFileName.gif”, _Range(“B5:D10”)
End Sub
Sub InsertPictureInRange(PictureFileName As String, TargetCells As Range)‘ inserts a picture and resizes it to fit the TargetCells range
Dim p As Object, t As Double, l As Double, w As Double, h As Double
If TypeName(ActiveSheet) <> “Worksheet” Then Exit Sub
If Dir(PictureFileName) = “” Then Exit Sub
‘ import picture
Set p = ActiveSheet.Pictures.Insert(PictureFileName)
‘ determine positions
With TargetCells
t = .Top
l = .Left
w = .Offset(0, .Columns.Count).Left – .Left
h = .Offset(.Rows.Count, 0).Top – .Top
End With
‘ position picture
With p
.Top = t
.Left = l
.Width = w
.Height = h
End With
Set p = Nothing
End Sub
Explanation of the above VBA coding written to insert gif images into specific cell or a given range:
Part 1:
Sub TestInsertPictureInRange()InsertPictureInRange “C:\FolderName\PictureFileName.gif”, _Range(“B5:D10”)
End Sub
The above mentioned subroutine will call the main subroutine i.e InsertPictureInRange which contains only 2 arguments. In the first argument, the image file address with the name is present. Whereas, in the second argument, range is set where you wants to insert image in Excel is given.
Part 2:
Sub InsertPictureInRange(PictureFileName As String, TargetCells As Range)’ inserts a picture and resizes it to fit the TargetCells rangeDim p As Object, t As Double, l As Double, w As Double, h As Double
If TypeName(ActiveSheet) <> “Worksheet” Then Exit Sub
If Dir(PictureFileName) = “” Then Exit Sub
‘ import picture
Set p = ActiveSheet.Pictures.Insert(PictureFileName)
‘ determine positions
With TargetCells
t = .Top
l = .Left
w = .Offset(0, .Columns.Count).Left – .Left
h = .Offset(.Rows.Count, 0).Top – .Top
End With
‘ position picture
With p
.Top = t
.Left = l
.Width = w
.Height = h
End With
Set p = Nothing
End Sub
It is main subroutine which adds and resizes image to get easy fit in allotted range.
Let’s dive into it.
Dim p As Object, t As Double, l As Double, w As Double, h As Double
In this line variable declaration is done. Here p is an object variable and your image will be hold by this variable only.
If TypeName(ActiveSheet) <> “Worksheet” Then Exit Sub
The above code will check whether your Activesheet is a worksheet or something else. If in case it’s not then it will leave the code instantly. After then nothing gonna happen
If Dir(PictureFileName) = “” Then Exit Sub
Make a check whether you have given address for image insertion into the cell of Excel spreadsheet. If in case you haven’t given that, then it will immediately exit and nothing gonna happen.
Set p = ActiveSheet.Pictures.Insert(PictureFileName)
It’s a very important line of your Excel VBA coding. Basically in this, we are making use of the insert function i.e ActiveSheet.Pictures. Also, keep the value into Object p which we have declared in starting.
By making use of the p object variable you can easily make adjustment in the image length and width.
With TargetCellst = .Topl = .Leftw = .Offset(0, .Columns.Count).Left – .Lefth = .Offset(.Rows.Count, 0).Top – .TopEnd With
In this segment from the given range, you can easily get the Length, Top, Left, Width etc.
With p.Top = t.Left = l.Width = wHeight = hEnd With
This part is basically to make adjustments in the image of the given range.
All things are done now…! At last we will set p variable free just by setting the value of p to nothing.
Set p = Nothing
This line will free the memory space.
The above code will successfully work in the following Excel 2007/2010/2013/2016.
Eg: suppose you wants to add image in the range A1:C10. For this, modify the code like this
Sub TestInsertPictureInRange()InsertPictureInRange “C:\Users\Manish Singh\Downloads\biker.jpg“, _Range(“A1:C10“)
End Sub
Here is the result:
Wrap Up:
You must have got enough knowledge on how to insert gif animated image in Excel. So, fearlessly try the above methods of inserting gif image into Excel. So, play with the Excel VBA code and try inserting different ranges, formats and see the result.
If you are having any query or encountering any challenges, then ask it in our comment section.
Helpful Posts:
Excel 2019 New Functions & Charts You Must Learn!
How To Create A Searchable Database In Excel
How To Remove Security Warning Messages In Excel
Everything You Need to Know About Excel Matrix Functions

Priyanka Sahu
Priyanka is a content marketing expert. She writes tech blogs and has expertise in MS Office, Excel, and other tech subjects. Her distinctive art of presenting tech information in the easy-to-understand language is very impressive. When not writing, she loves unplanned travels.